How to Manage Region in Enroute
The Regions module in Enroute allows administrators to define and manage service regions for operational categorization. Here's how to add, update, and manage regions effectively.
Accessing the Region Module
- After logging into the Enroute admin panel, navigate to the left-side menu.
- Under Setup > Service Areas & Partners, click on Regions.

Add a New Region
To add a new region:
- Locate the "Add Region" section at the top.
- Enter the region name in the input field provided.
- Click the “Save” button to create the region. The new region will appear in the Region List below.

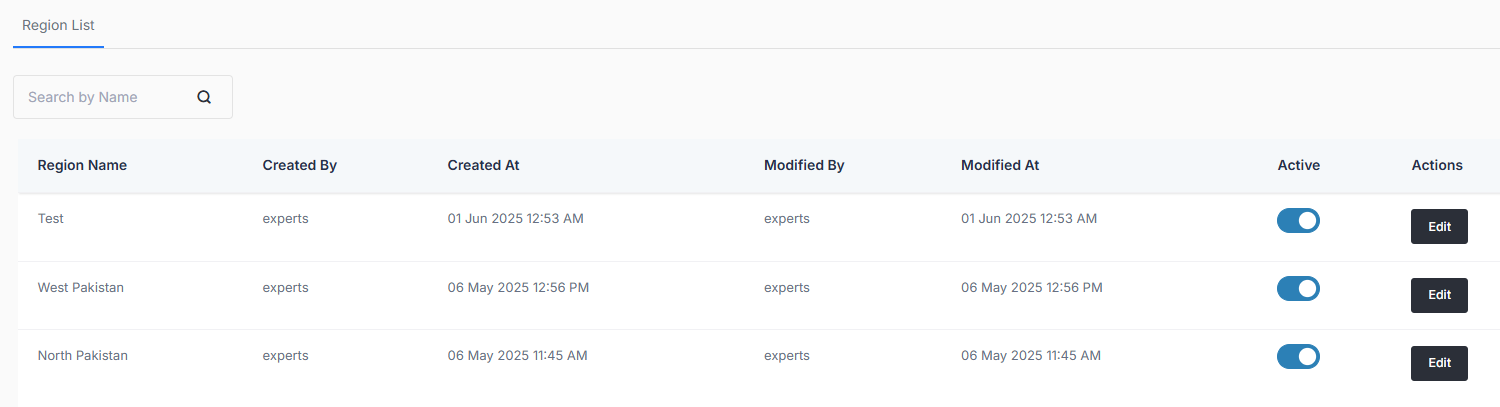
Region List Overview
The Region List displays all existing regions in a tabular format with the following columns:
- Region Name – The name of the region.
- Created By – The user who created the region.
- Created At – Timestamp when the region was created.
- Modified By – User who last updated the region.
- Modified At – Timestamp of the last modification.
- Active – Toggle switch to activate/deactivate the region.
- Actions – Allows editing the region name.
Edit a Region
To update an existing region:
- Click the “Edit” button next to the region you wish to modify.
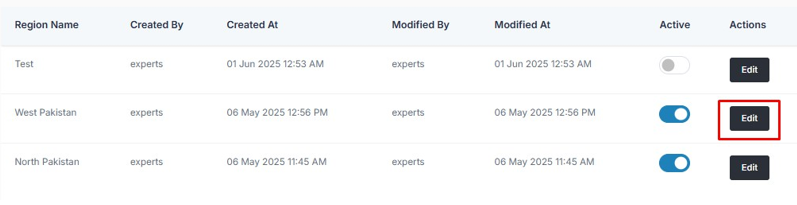
- Make the desired changes in the name field.
- Click “Save” to apply the updates.

Activate or Deactivate a Region
- Use the toggle switch under the Active column to enable or disable a region.
- A blue toggle indicates the region is active; grey indicates inactive.

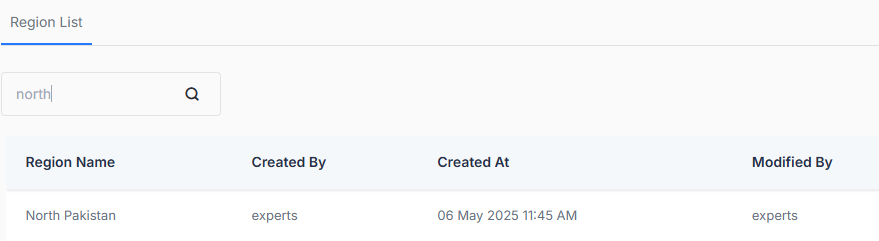
Search for a Region
- Use the search bar above the Region List to find a region by name.
note
- Deactivating a region will disable its availability in dependent modules (like cities, zones, etc.).
- Region names must be unique to avoid conflicts.
- Changes are reflected in real-time without page reload.