How to Manage Stores in Enroute
Accessing the Stores Section
To get started:
- Log in to the Enroute Admin Panel.
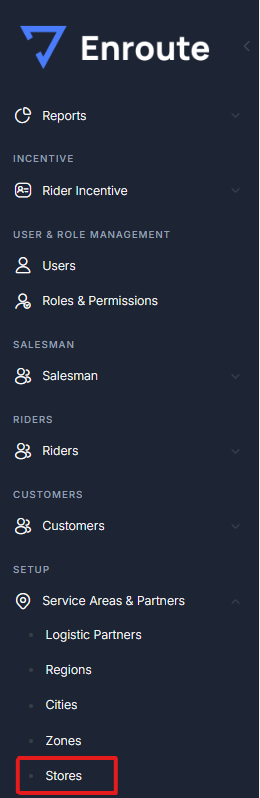
- In the left-hand navigation, go to: Setup > Service Areas & Partners > Stores
You’ll see two tabs:
- Store List – view and manage existing stores.
- Add Store – create a new store entry.
How to Add a New Store
-
Click on the Add Store tab.
-
Fill in the Store Details form:
| Field | Description |
|---|---|
| Store ID | System-generated or manually assigned unique store identifier. |
| Store Name AX | The store name as per your ERP/AX system. |
| Store Name | Display/storefront name for internal use. |
| Region | Select the region where the store operates. |
| City | Select the relevant city under the chosen region. |
| Zone | Select the zone to which this store belongs. (Zones are pre-configured.) |
| Classification | Internal classification (e.g., Retail, Wholesale, Flagship, etc.). |
| Location | Name or description of the area where the store is located (e.g., Gulshan Block 5). |
| Map Location | Once a location is selected on the map, this field auto-fills with map coordinates or address. |
| Address | Full postal address of the store. |
| Landline Number | Official contact number for the store. |
-
On the map panel (right side):
- Click the map to pinpoint the store’s exact location.
- The Map Location field will auto-populate with the selected coordinates or place name.
-
Click Save to add the store to the system.